


To get started, download Android Data Recovery and install it on your PC. Then follow the guide below to recover lost photos from Android.
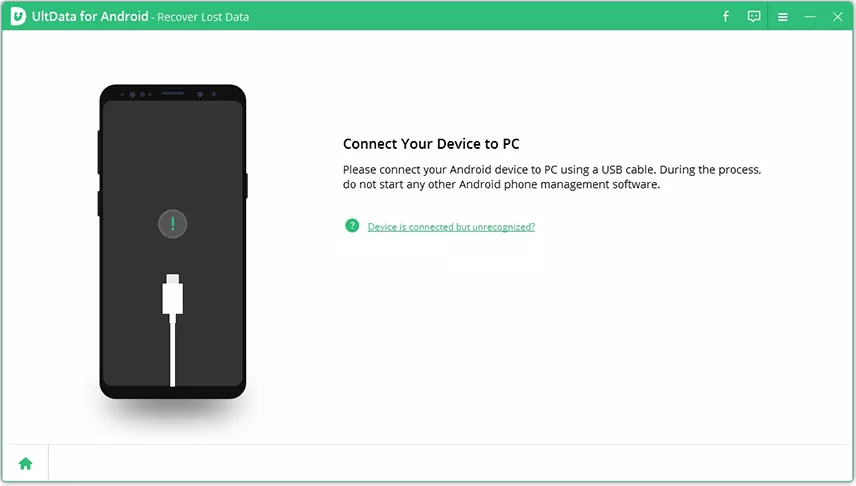
Step1 Connect Your Android Device
Launch the program and select the feature "Recover Lost Data".

Then connect your Android device via the OEM USB cable. (During the process, please do not launch any other Android phone management software.)
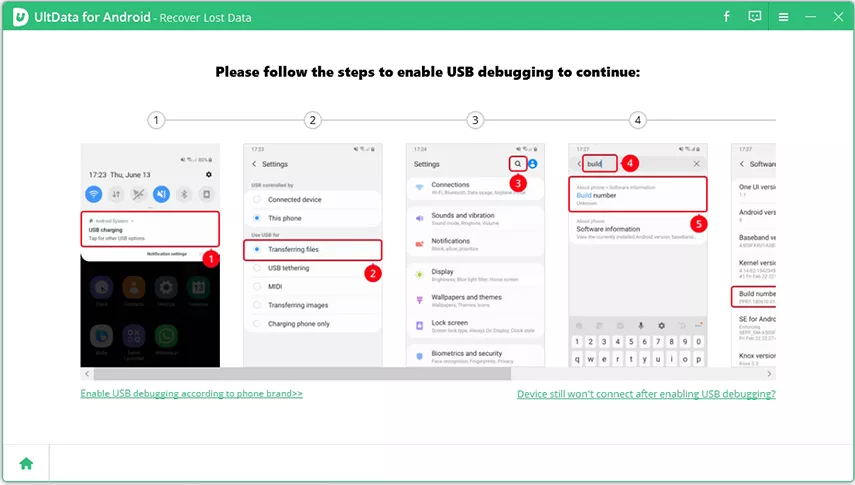
Step2 Enable USB Debugging
Before scanning the data, you need to enable USB debugging on your Android phone. Follow the instruction below:
◉ First, click the “USB Charging” from the Phone taskbar and switch USB option to "Transferring files".
◉ Go back to “Settings”, search "Build" and choose "Build number" on result, then tap it 7 times or several times depending on your device model.
After enabling the USB debugging, you need to allow the authorization on your device to allow USB debugging. Once the USB debugging is enabled, your device will pop up a window to ask you allow the the authorization on your device. Simply click "OK". If the window doesn’t appear, please click “Show Again” on the program.

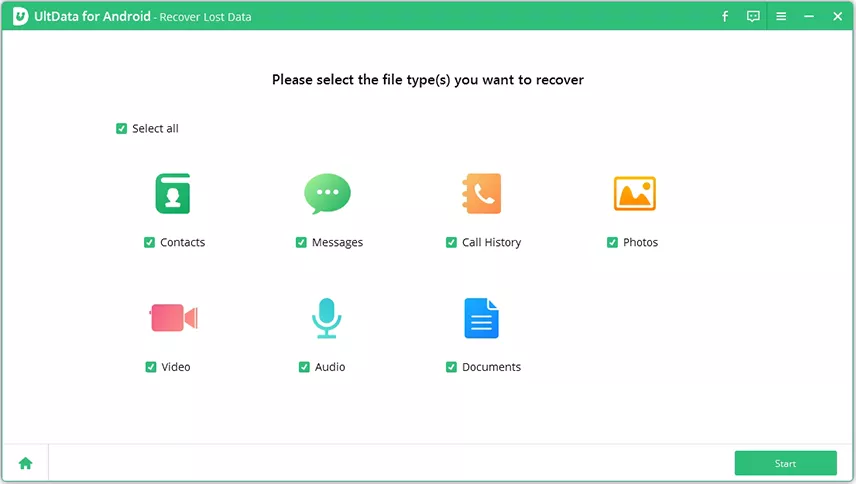
Step3 Enable USB Debugging
Choose the files types you'd like to scan when connection is finished. Then click on "Next". The software will scan your deleted/lost photos on your device.
Step4 Preview And Recover The Lost Photos
After scanning, the program will display all picture data, including the deleted pictures. You can preview the photos before recovery.
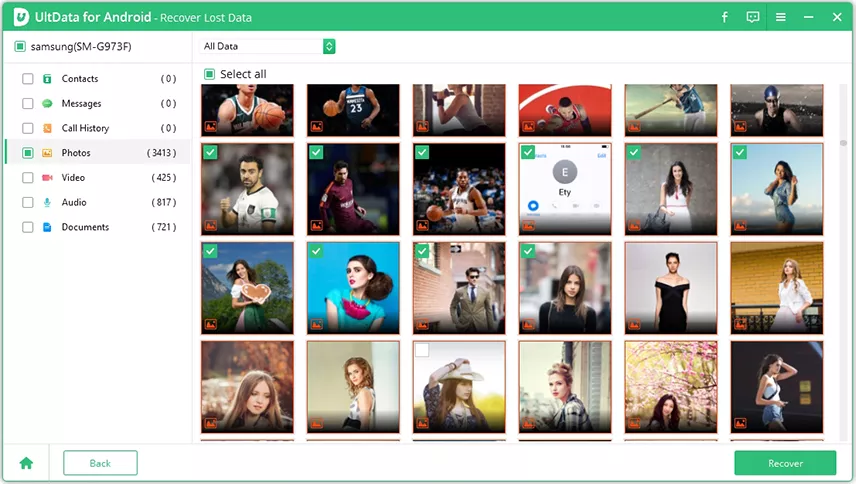
Select the photos you want to recover and then click the “Recover” button in the lower-right corner.
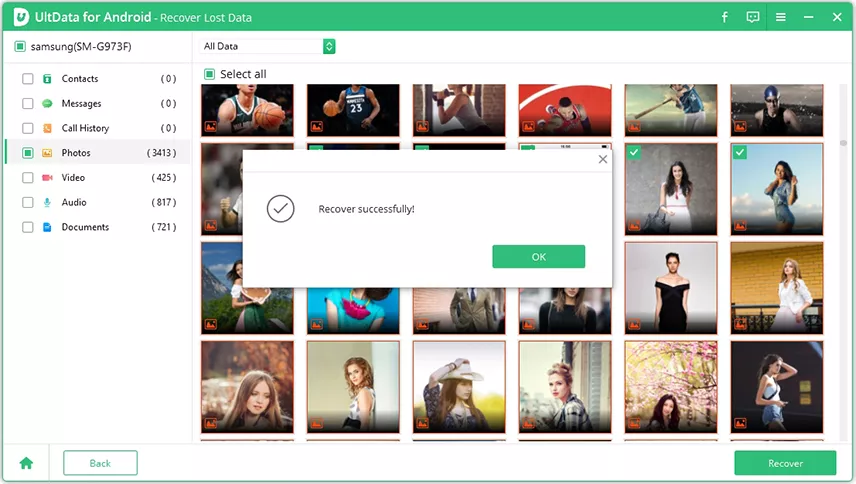
Photo enhancement: Check the box next to “Turn on Photo Enhancement” feature after clicking the “Recover” button and it will automatically increase the resolution for recovered images.

